

Community Management System manual›Community & Member Management›Cookie Consent Module
Configuration
Site Manager Configuration
General settings
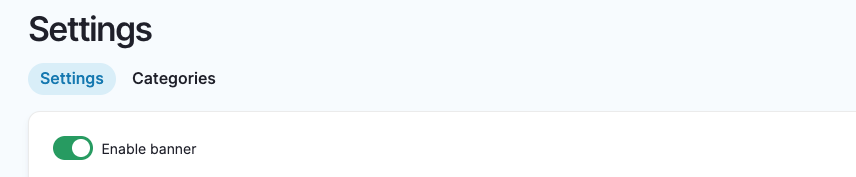
The settings page is available by this URL - /admin/config/system/eu-cookie-compliance/settings
The Cookie consent feature can be easily enabled and disabled by the Site Manager. When disabled, no cookie popup is visible and all cookies will be set.
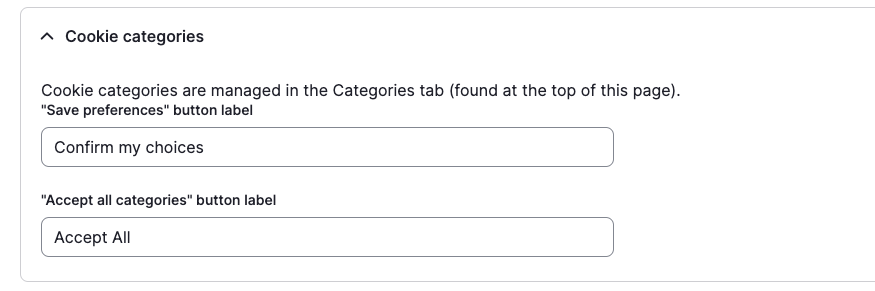
Default label for "Confirm my choices" button and "Accept All" button:
Default body text of the cookie popup:

Default label for "Cookie policy" link:
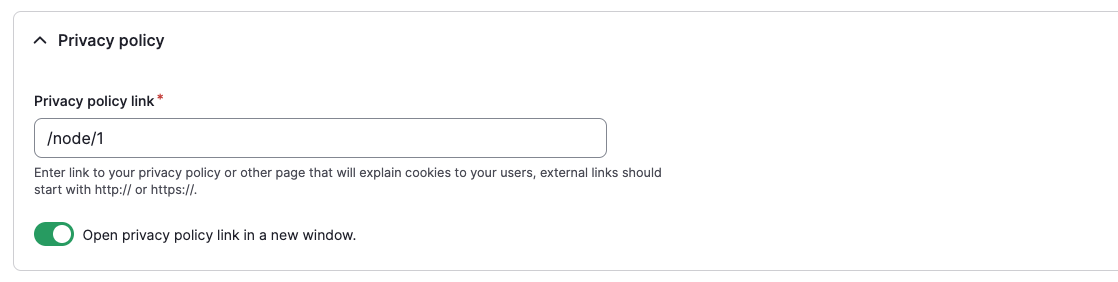
Provide a link to the Privacy policy page.
This link is visible and clickable at the bottom of the cookie popup:

Label of the popup.
This label is always visible in the bottom right corner of your screen so users can decide to change their cookie settings at any time:

Default label for "Reject all" button:

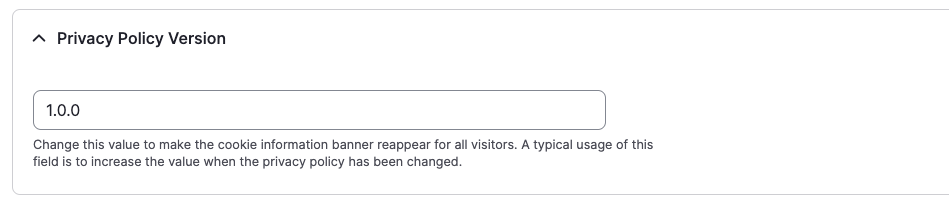
New Privacy policy version.
When Privacy policy is changed, the cookie popup will be presented again to the users and they
will have to make their choice again:
Settings translations
On multilingual platforms Site Manager can translate the labels above for each available language. At the top of the settings page you can find a tab called "Translate eu cookie compliance". In this page you can edit the text for each available language on your platform.
Categories
/admin/config/system/eu-cookie-compliance/categories
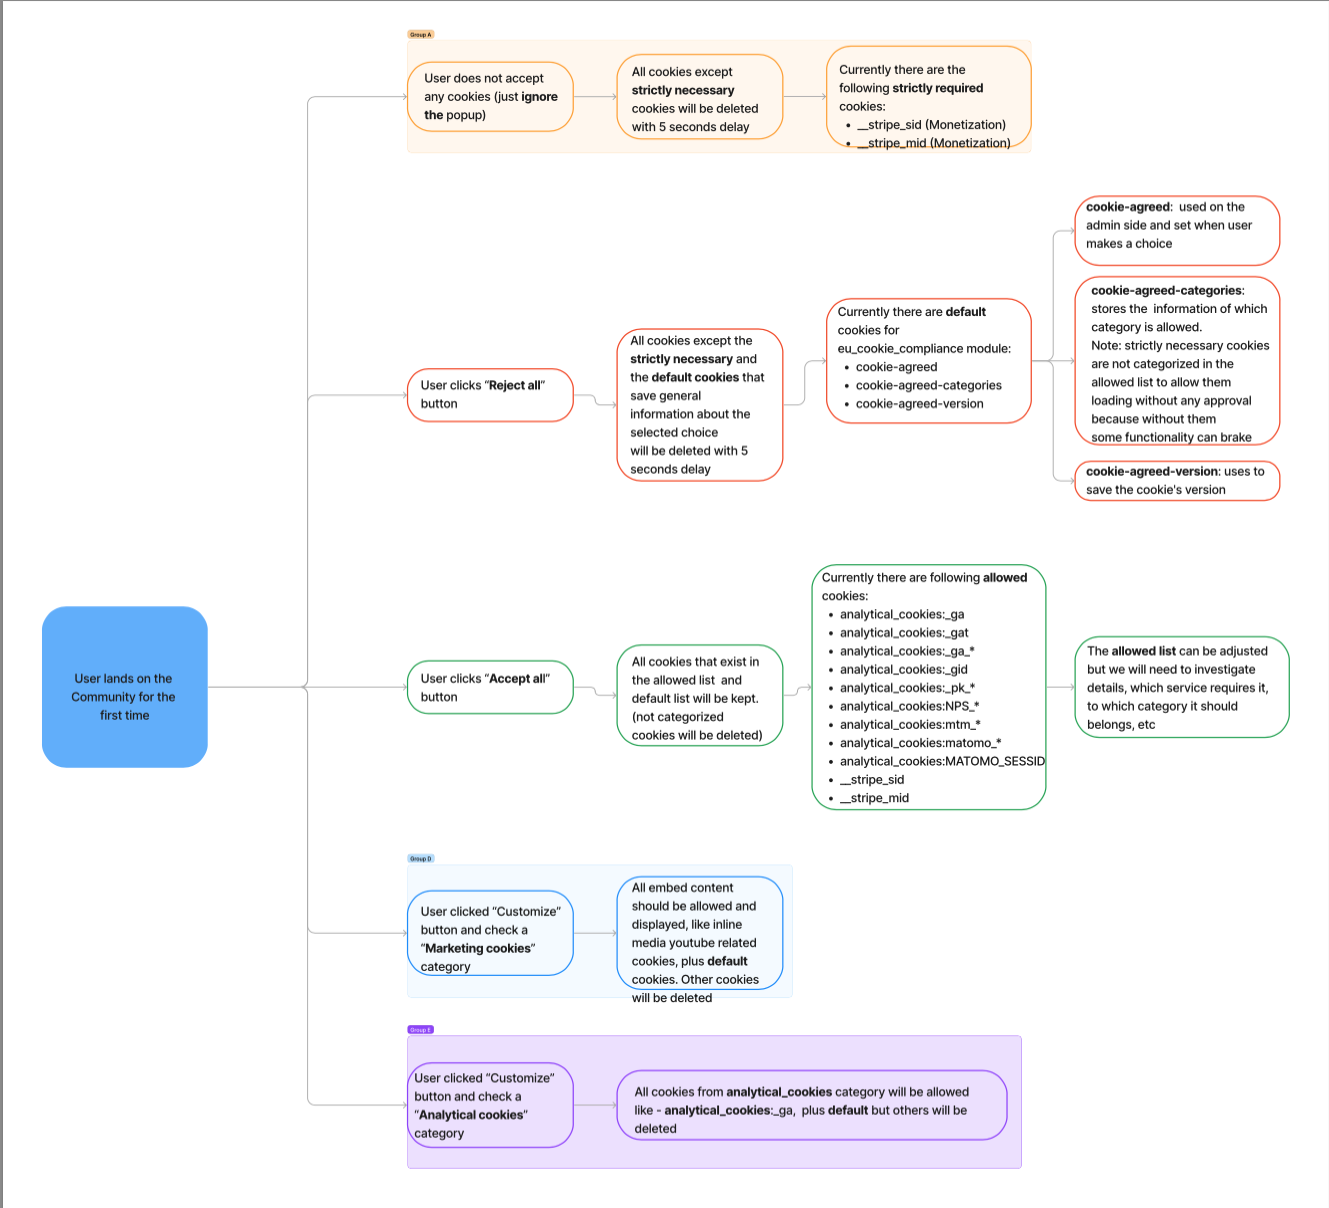
We have 3 types of cookies on the platform:
- Strictly necessary cookies
- Marketing cookies
- Analytical cookies.
The text for each category can be defined in the "Categories settings" and they are displayed
under the option "Customize" in the cookie popup
Site Manager can Edit Marketing cookies and change the default Label and text.
Site Manager can Edit Analytical cookies and change the default Label and text.
Site Manager can Edit Strictly necessary cookies and change the default Label and text.
Categories translation:
Site Manager can provide a translation of Categories Label and Text for each language available on the platform. On the Categories page, next to each Category you have an Action column with the "Translate" option.
Then you need to choose for which language you want to provide the translation. Just click "Add" on the Action button for the language you want to add. Provide the translation and save.
Additional Resources
← Previous: Connect LinkedInNext: Single Sign On (SSO) →