Logging in for the first time
When your platform is ready, you’ll be notified by your Customer Success Manager and receive access to your platform. It’s going to look something like this:
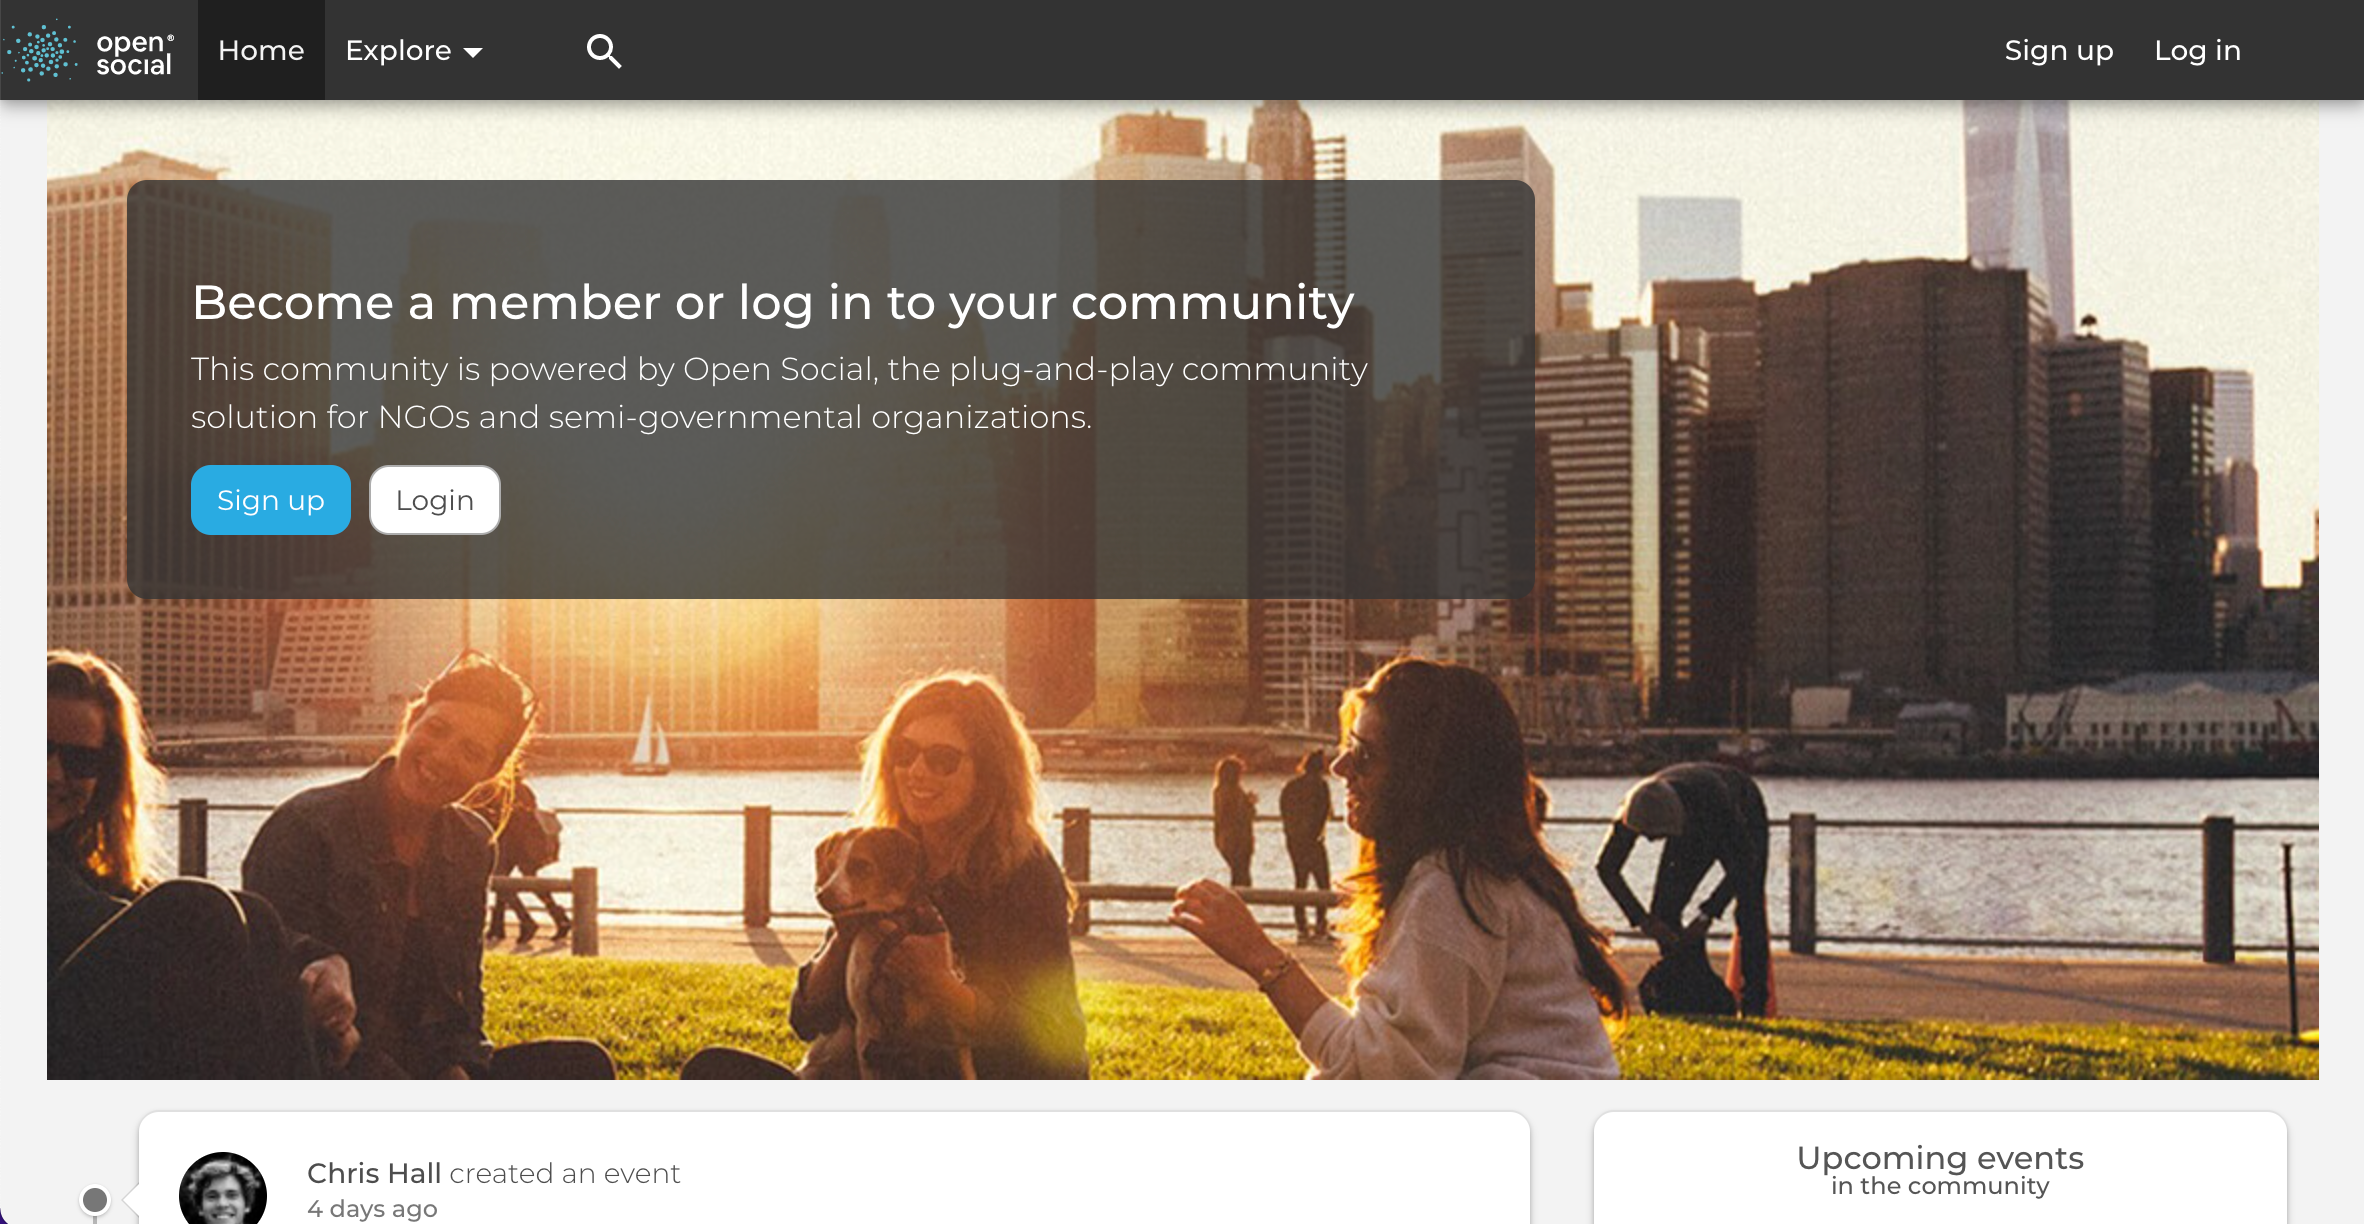
Most likely, your customer success manager has created an account for you, in which case you'll receive an activation link via your email. If not, or if that link is expired, you can login via the button in the top right (/user/login*). If you need a new activation link, try inputting your email address in /user/password* to reset your account.
*Throughout this manual, we’ve included direct URL extensions which you can use to navigate to pages in your own platform. To do this, you can copy and paste this behind the URL of your platform. For example if your community URL is www.community.com, then you can add /user/login behind the URL: www.community.com/user/login to navigate to your own login page.
In both cases you will login as a Site Manager which means you can access and control the community platform’s configuration, content and users. Learn more about the Site Manager role and other user roles here.
Once you login, you can also create new accounts for your colleagues. Learn how to create a new user account here, and about the differences between a user account and a user profile.
Orientation
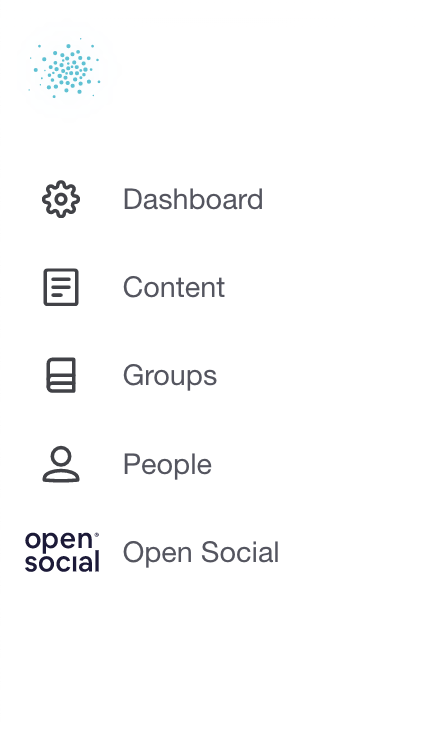
Upon logging in, you will have access to the white Site Manager Menu located on the left side of the platform. You’ll find that there is no content on your platform, and some default configuration which you can change (and should). The Site Manager Menu is your navigation with links to easily access the most important tools, starting with the Open Social logo on the top:
- Front page of your platform
- Site Manager Dashboard (direct URL: /admin/dashboard)
- Content (direct URL: /admin/content/)
- Groups (direct URL: /admin/group/)
- People (direct URL: /admin/people/)
- Open Social (direct URL: getopensocial.com)
It’s recommended that you play around with the environment to get yourself familiar with it. The faster you figure it out, the better you can tailor your community towards your mission.
Now that you know where to find what, you’re ready to start configuring your community.