Privacy and security is an important aspect of your community in order for you to create a place for your members where they feel safe to share their thoughts and experiences. One part is done by choosing a provider like Open Social with the right certifications (think about the ISO 27001 certification) and another part is on your side to ensure you've got the right policies in place.
The Open Social platform provides the features you need to make your community GDPR compliant and this guide will guide you through setting up your own data policies as well as the consent check boxes your members use when registering.
Create, edit or delete your data policies
As a Site Manager, you're able to create multiple data policies in one community. For example, you might want to have your members consent to a Privacy Policy and a Terms and Conditions.
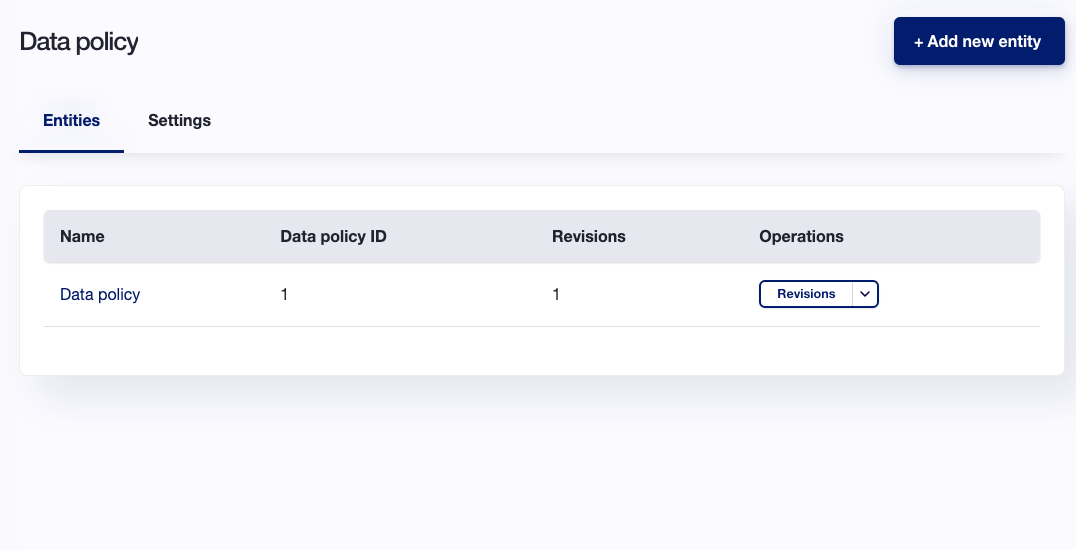
To do this, navigate to the Site Manager Dashboard > Data Policy (direct URL:/admin/config/people/data-policy). This page displays any existing data policies on the platform as well as their ID and number of revisions, while allowing you to access the revisions, edit, and add new policies (the Data policy ID is important for managing the consent, covered further in this manual).
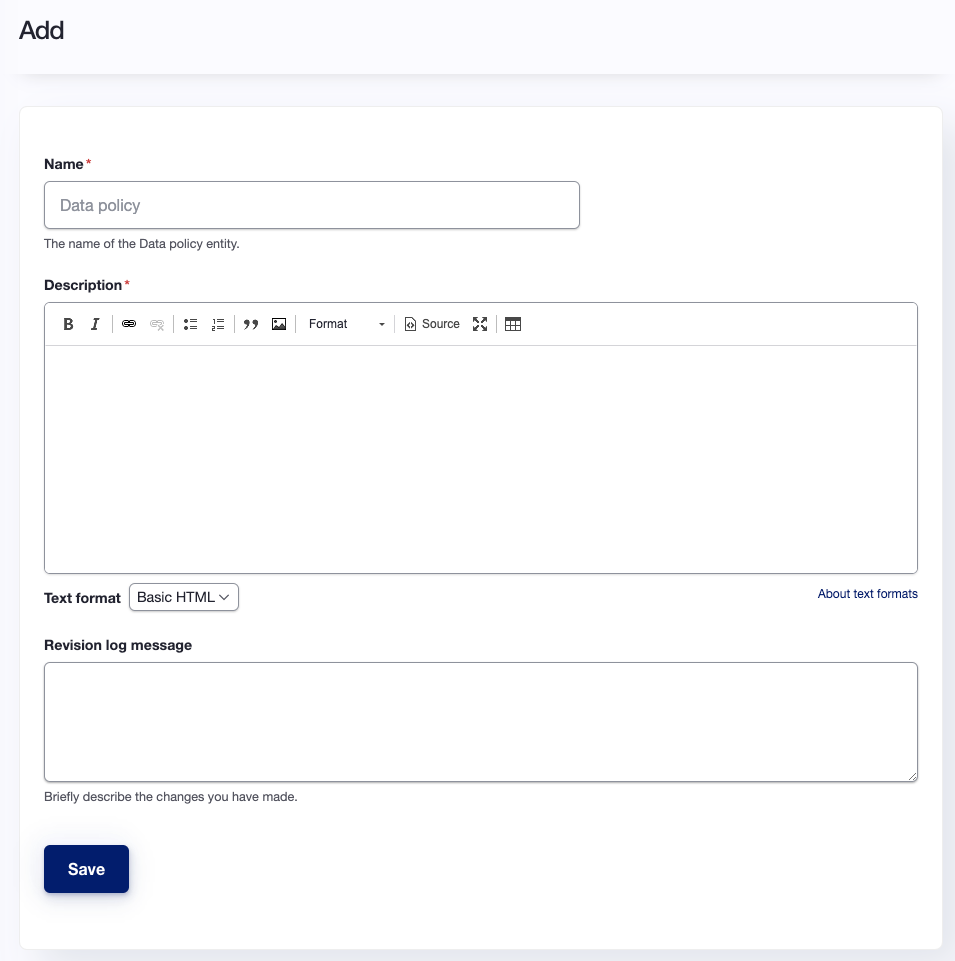
Let's create a new policy with the "+Add new entity" button on the top right corner (direct URL: /admin/config/people/data-policy/add). When creating a new policy, you'll need to fill in:
- Policy Name
- Description (this is the content of the policy)
- Revision log message (optional)
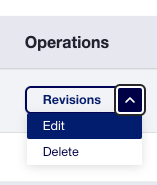
Once you've created at least one policy, you're able to edit or delete it under Operations as well as to see the Data policy ID.
Manage consent checkboxes for member registration
On the Data policies page, navigate to "Settings" as can be seen below on the screenshot (direct URL: /admin/config/people/data-policy/settings).
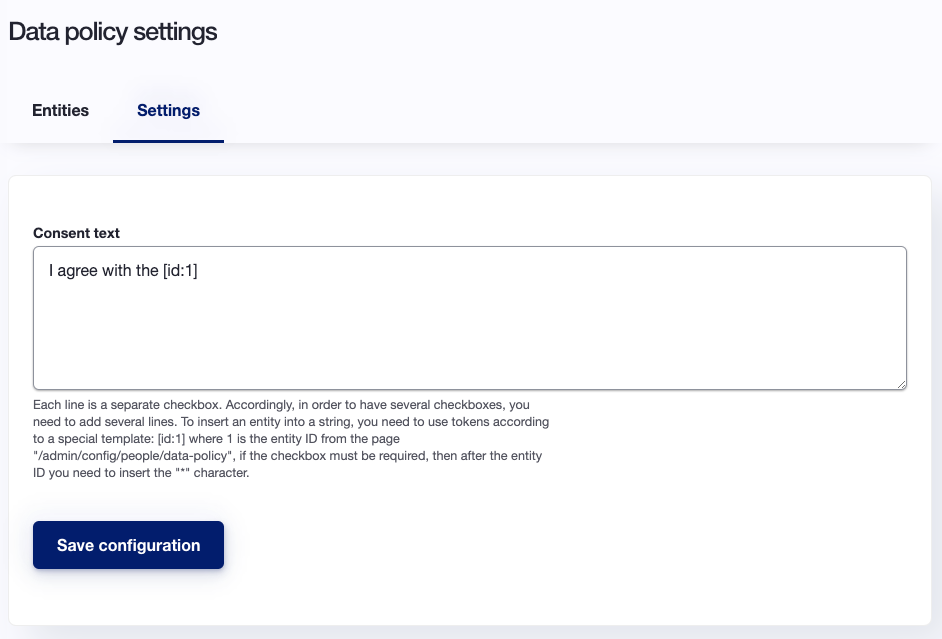
As a Site Manager, you may edit this text which by default says "I agree with the [id:1]". Your members will see it on the Sign up page with the Name you've determined.
In the case you have multiple policies in place, you should treat each line as a separate checkbox. You might end up with consent text like this:
I agree with the [id:1]
I agree with the [id:4]
Make consent required
In order to make the consent required during sign up, you need to insert the * sign after the consent text. For example, you have two policies but only one is required, your consent text should look like this:
I agree with the [id:1*]
I agree with the [id:4]
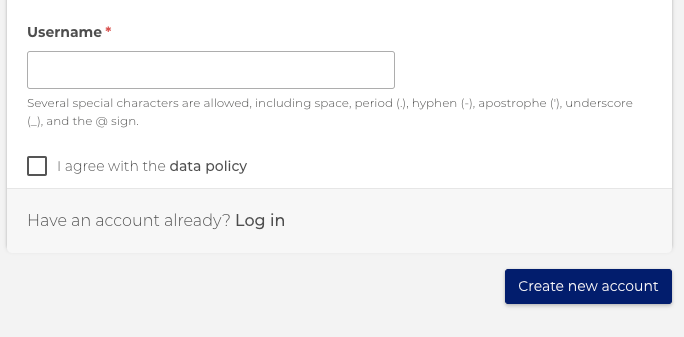
Once the consent if required, any new registrant will also see the * sign next to the policy, and will not be able to continue until they have agreed clicked the checkbox.