Every content type in Open Social supports images.
 When you create content, look for the image button in the editor. Here you can choose an image from your computer (there is no 'image library' for re-using images yet). When you upload an image you can choose how to align the image.
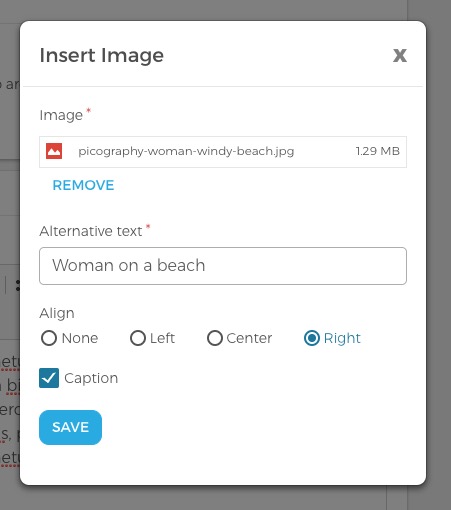
The Alt-text is meant to tell robots (like the Google bot) and visually impaired website visitors what the image is about. Fill in the alt-text to ensure that your site accessible for everybody.
If you want to provide a small description of the image (for example, a copyright) then check the caption box.
Align images
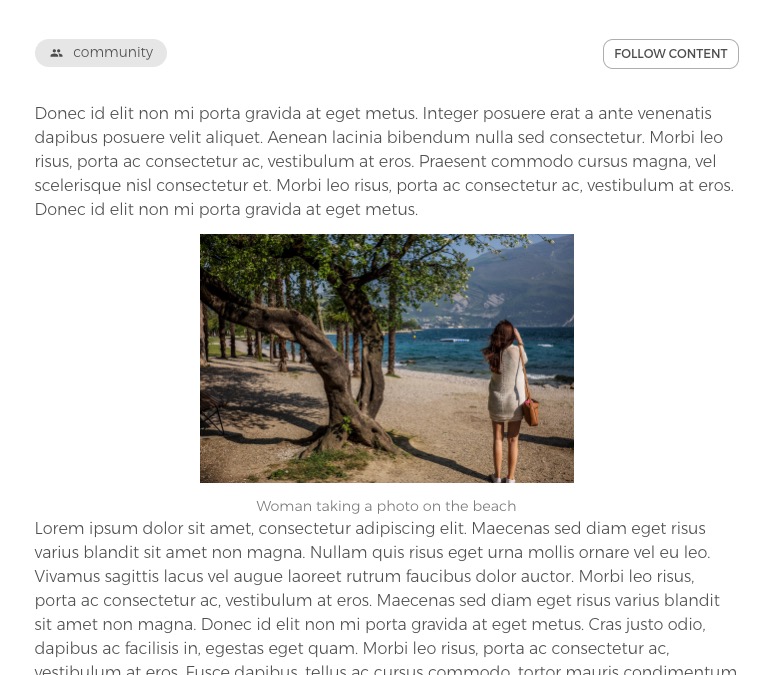
You can choose to align your images to the left, right, or center. When you choose none the image will automatically be aligned to the left, but no text will be wrapped around it.
Here are some examples:
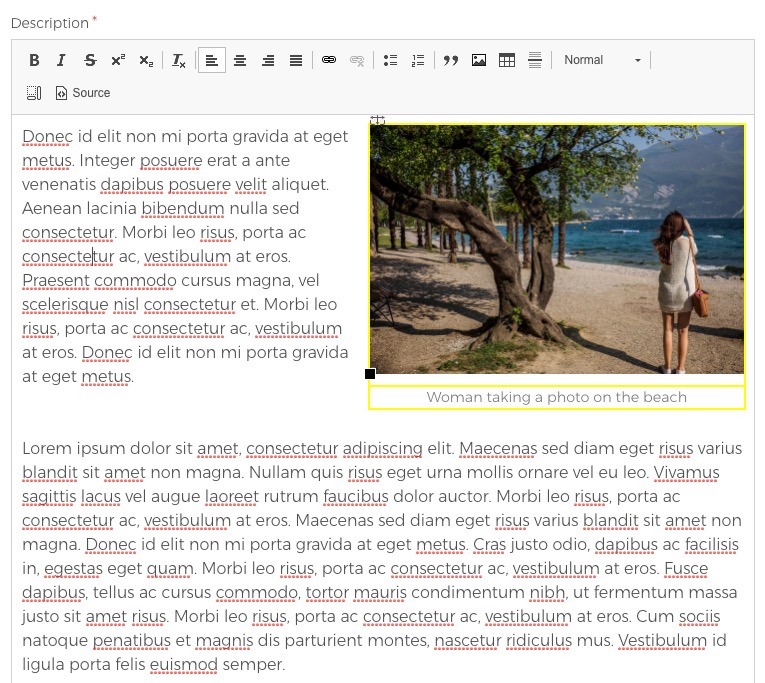
Align image on the right.
Align image in the center.
You can change the alignment, alt-text, and caption by right-clicking the image and selecting image properties.
Advanced tricks
It could be that you want an image to be aligned next to the text, and have the next paragraph start underneath the image (have the text wrap around the image). This does not always occur very easily. In order to enforce this, you can do the following:
- Insert and align the image.
- Insert the paragraph that needs to be next to the image and the paragraph that needs to start underneath the image.
- Click on the Source button in the toolbar.
- Find the two paragraphs you have entered. When you find them, you'll see that both texts are wrapped in a <p> tag. The first <p> tag marks the beginning of the paragraph and the </p> marks the end.
- You need to insert a clearfix (see below) right after first closing tag (<p>). Find this spot. This will ensure that everything that comes after this spot will be placed on a new line.
- Add <div class="clearfix"></div> on the designated spot, like in the example below.
- Close the source view. You will not see the code you just inserted. It is invisible and will make sure the second paragraph will never be next to the image.