

Engagement Studio manual›Campaigns›Emails in campaigns
Emails are the most common and effective way to engage a segment in a structured campaign. This page shows how to build one. First create your emails in Channels.
1. Add an email step
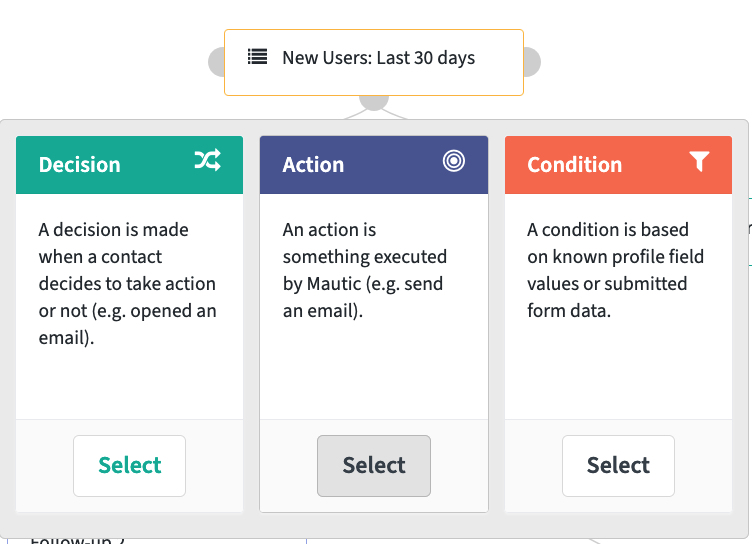
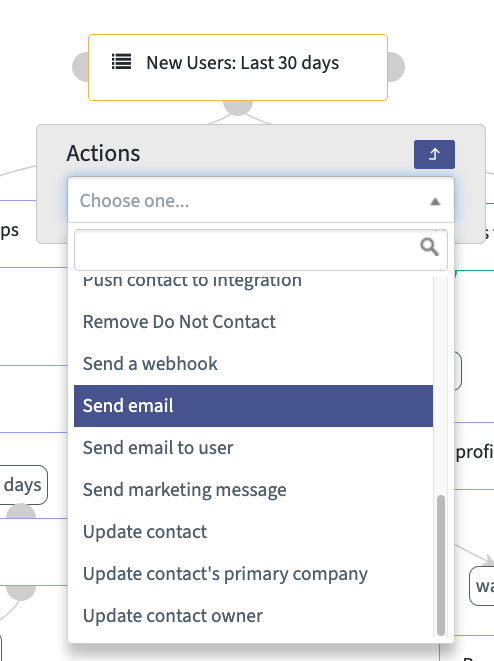
Click the grey node and choose Action. Then select Send email (not "Send email to user", which is for internal messages).
2. Set timing and conditions
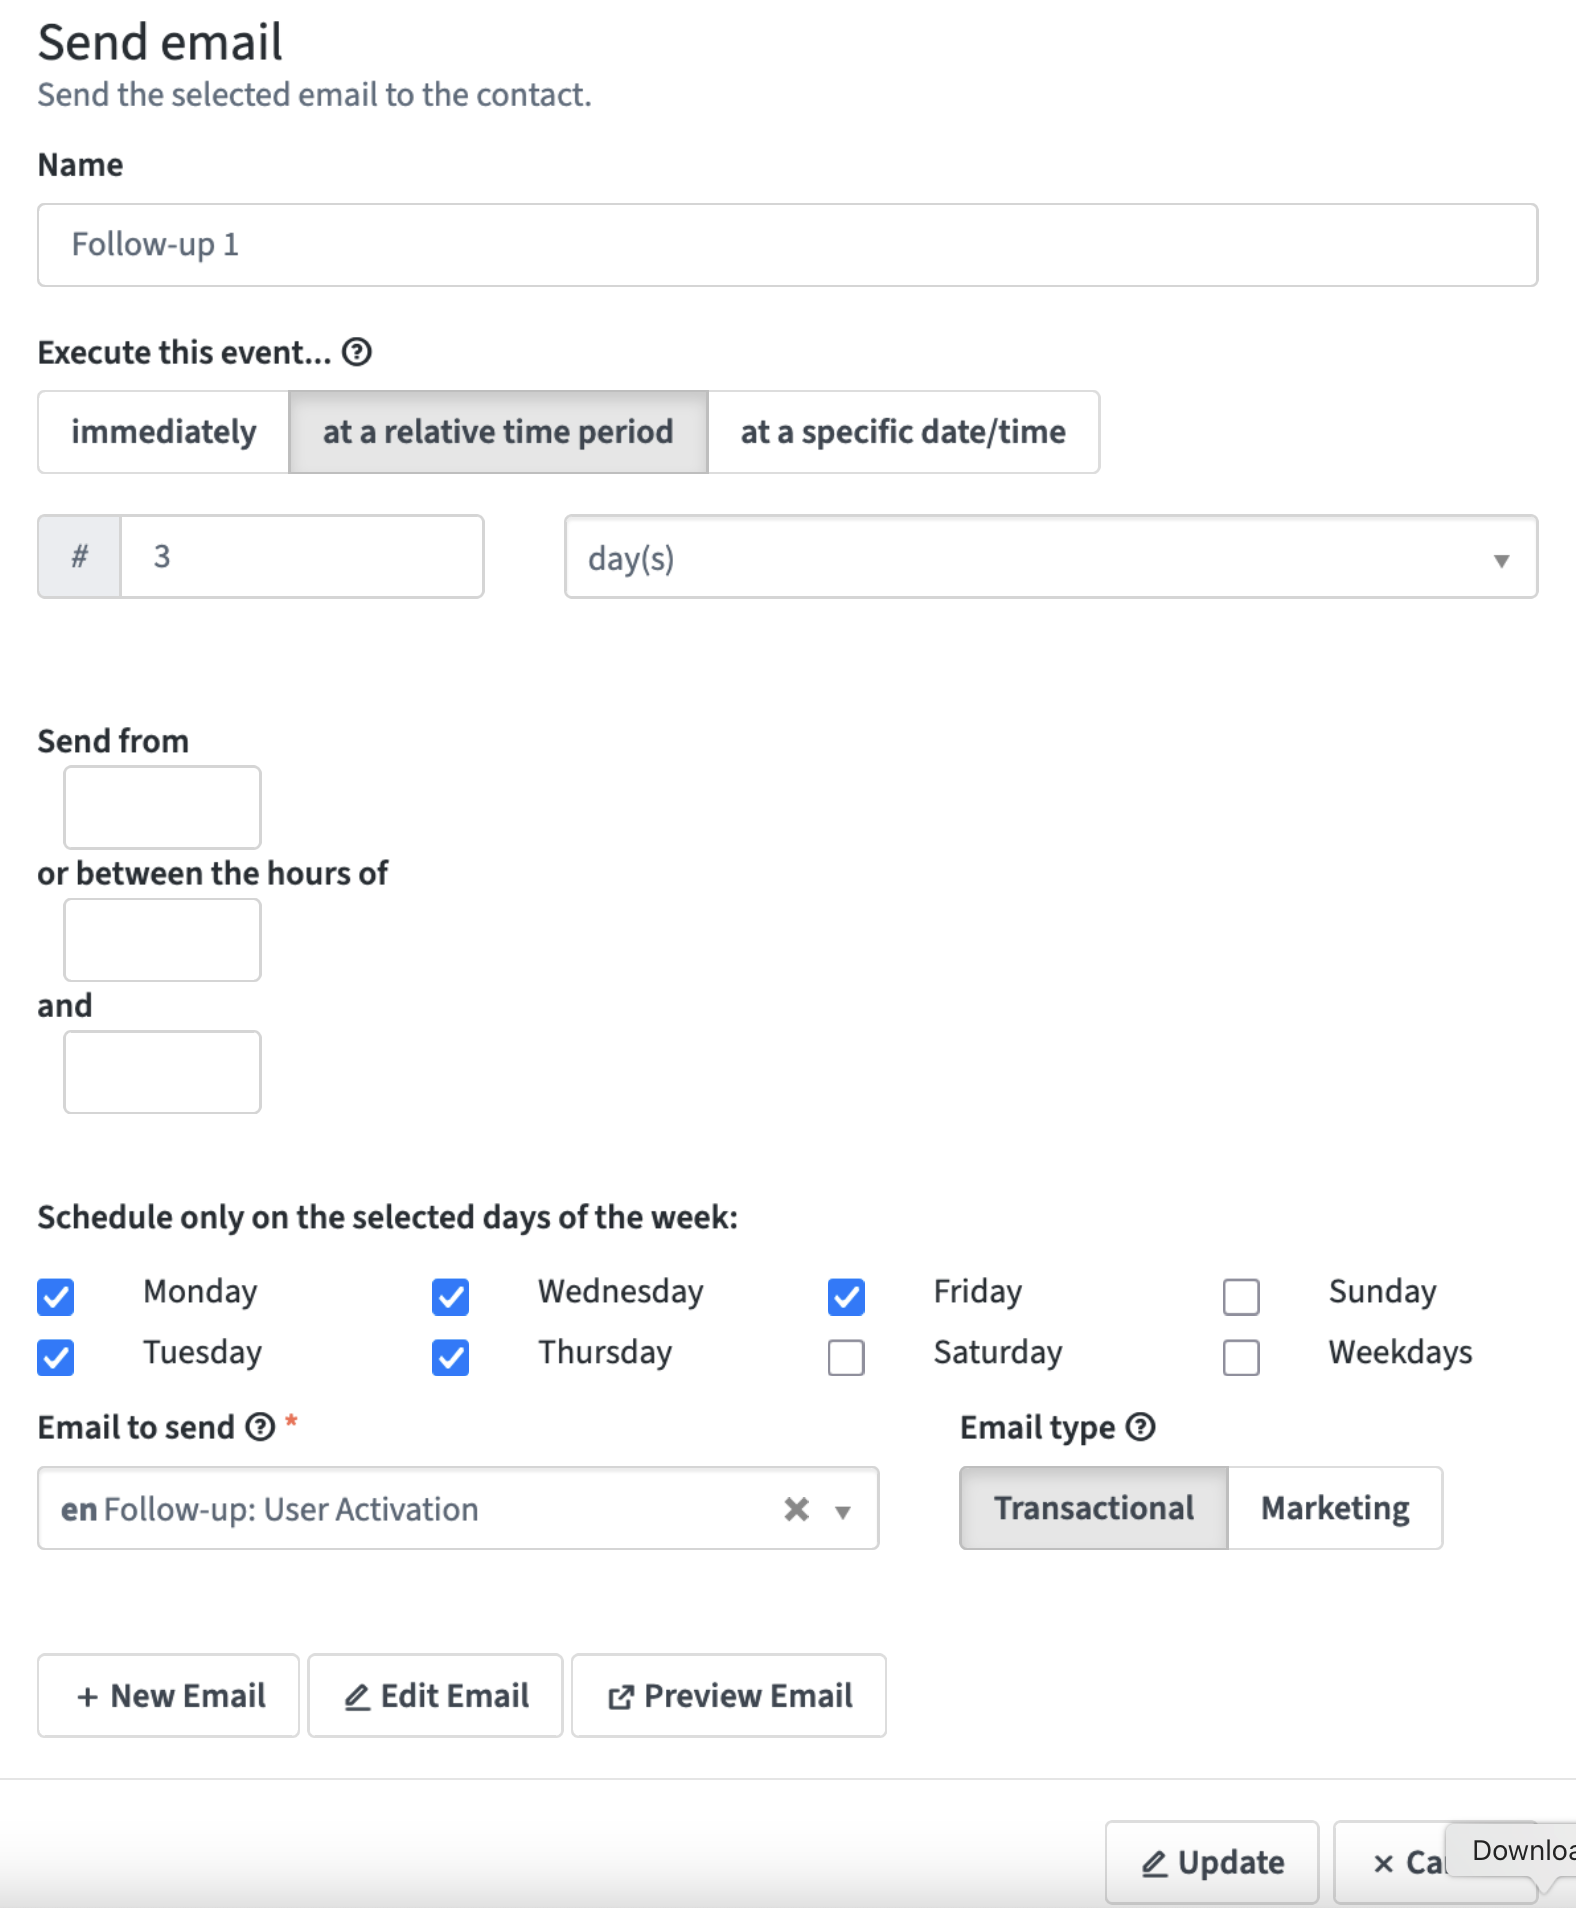
Choose when the email is sent:
- Immediately: as soon as a member joins the segment, or when the campaign is published.
- After a relative time period: wait a number of minutes, hours, days or weeks after the previous step.
- At a specific date and time: best for one-off, time-based promotions, for example for an event.
With the relative option you can add sending conditions, such as only on weekdays and/or only during working hours (for example 09:00–17:00).
3. Select your email
Choose one of the emails you created in Channels. Then select whether it is Transactional or Marketing. The difference: marketing emails are not sent to members who have unsubscribed.
Click Save.
4. Add follow-up emails
Click the next grey node (below your last step), select Action and then Send email again. Use after a relative time period to add a delay between steps (for example 3 days). Select a new email for the follow-up, or reuse the same one, and set the sending conditions again.
You can add as many follow-up steps as you need.
5. Create email loops
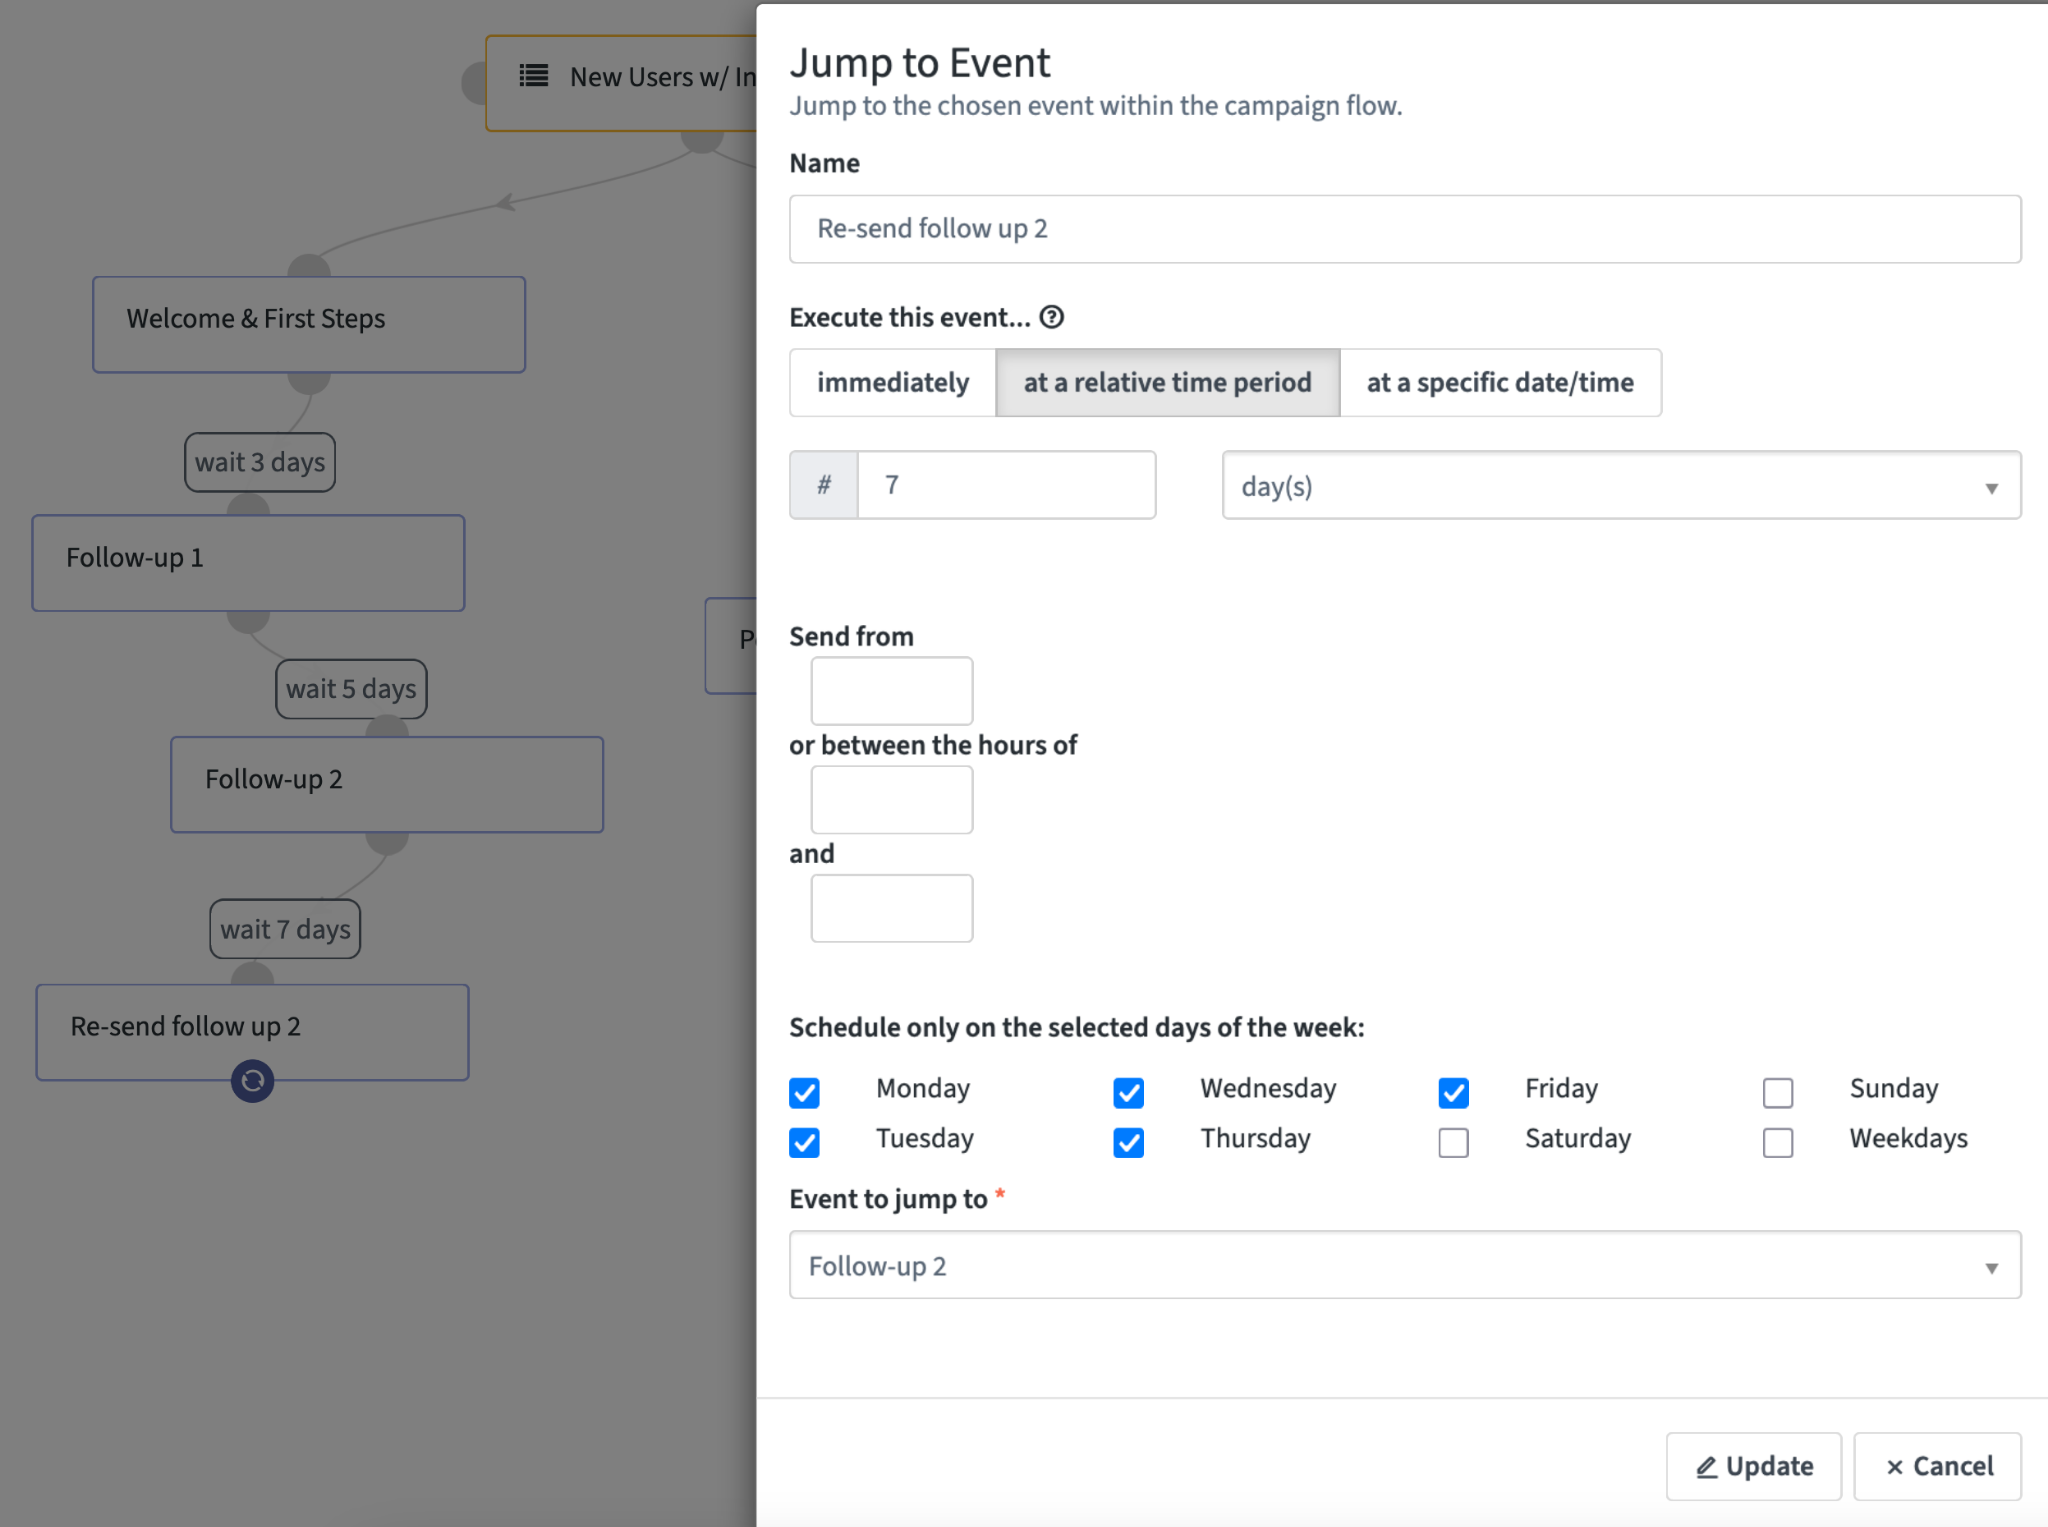
To repeat earlier steps, or start again from the beginning, create a loop. Add a step, choose Action and select Jump to event. Then choose the step to jump back to, such as the first or the most recent email. This is useful for recurring reminders, so you don't have to create every step by hand.
6. Add conditional steps
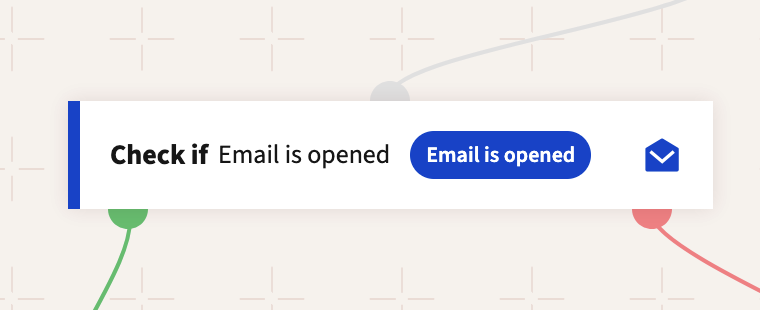
Instead of an Action, you can add a Decision. The next step then depends on whether the member does (or doesn't do) something. For example, after an email you can continue based on whether it was opened or clicked:
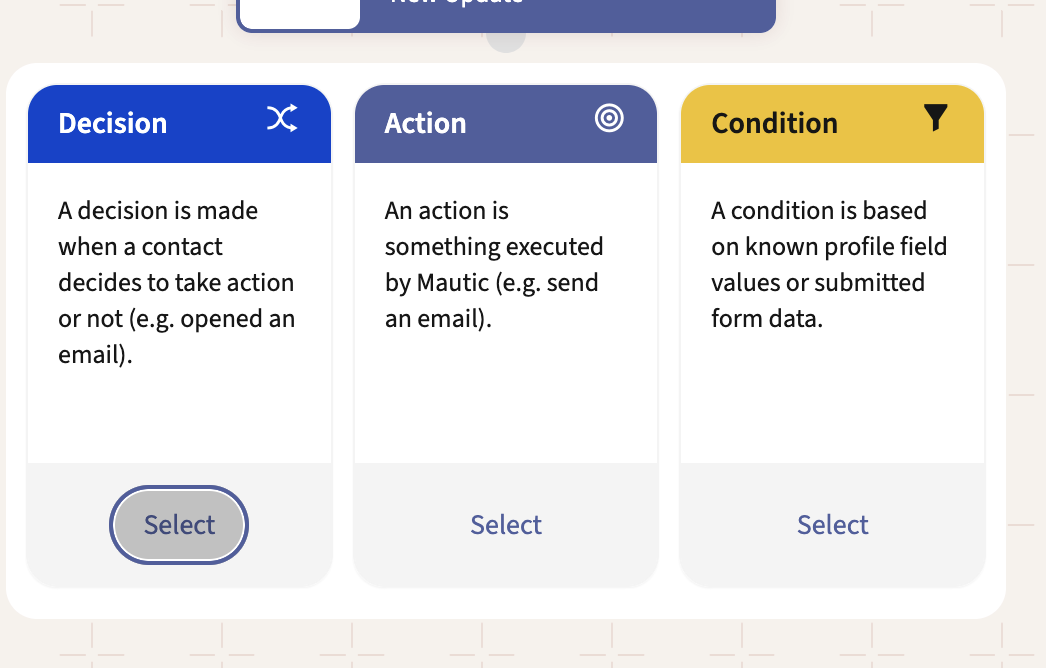
Once you've chosen the decision, set the next steps for both outcomes. The node on the left (green) is for when the member does it (for example, opens the email). The node on the right is for when they don't. From there, add the next steps as described above, such as follow-up emails, resending an email or adding tags.
When an email campaign ends
Campaigns don't need a formal end step. Members stop receiving messages when:
- there are no more steps: without loops, members reach the last step and stop receiving messages;
- they leave the segment: for example, a segment of members who joined in the last 30 days. After 30 days they leave it, and the messages stop;
- you stop the campaign: you can pause or deactivate it on the campaign management screen;
- they unsubscribe: this only applies to marketing emails. Members still receive transactional emails sent by campaign steps.
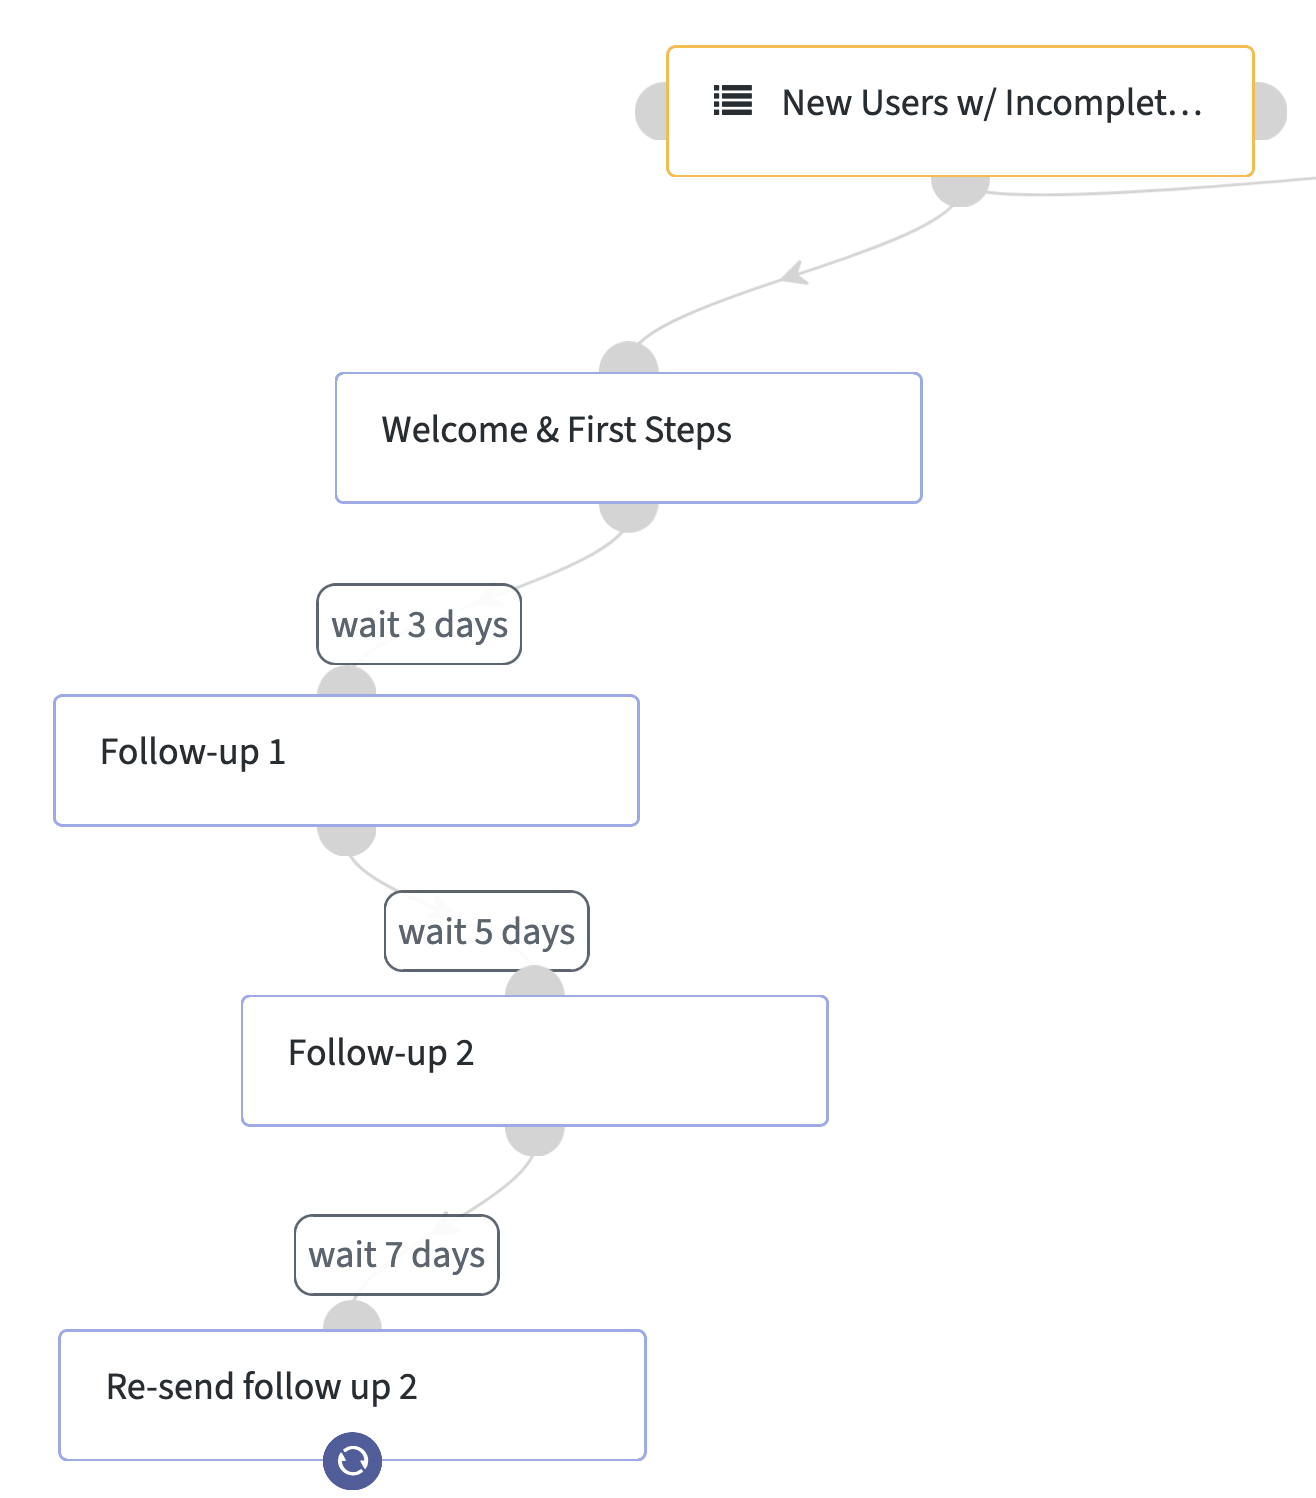
Here is an example of a welcome email journey:
← Previous: CampaignsNext: Finalising and managing campaigns →